Most home recipe videos fail in the same quiet way. Nothing is wrong with them. The food looks fine, the hands move, the music plays. But nobody could cook from them, and nobody rewatches them, because every second is weighted the same. Forty seconds of chopping gets the same treatment as the moment the sauce comes together.
A cooking video is doing two jobs at once, and they pull in different directions. It has to be followable, which means information: what is that, how much, at what heat, for how long. It also has to be appetising, which means texture, sound, steam, and the slow reveal of something you want to eat. The edit is where you decide, second by second, which job you are doing.
Almost none of that is about software. It is about which shot you hold, which one you cut away from early, where you let real time run, and where you compress an hour into two seconds. Get those decisions right and a phone shot from a stepladder in a small kitchen will beat a nicely lit video with no edit discipline.
What follows is the craft first, in the order you actually make the decisions, and then the parts where an AI editor saves you the tedium: the speed passes, the ingredient cards, the captions, the reframe for vertical, and the colour work that stops your food looking grey.
01 / FIELD NOTESThe overhead shot is your default, and that is the problem
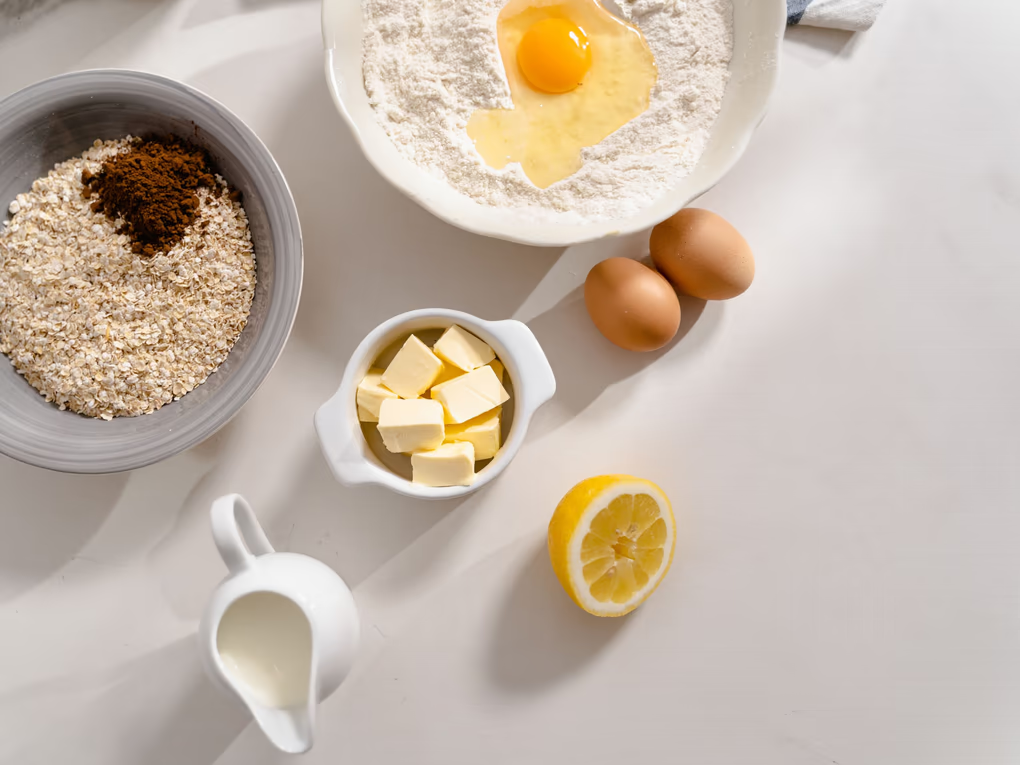
Overhead is the right default. It shows the board, the pan and both hands with no parallax, it hides your kitchen, and it is the only angle where a viewer can see quantity. If you own one camera position, own that one.
It is also the flattest angle in food, because it removes height. Steam rises out of frame. Sauce depth reads as colour, not volume. A crust on a piece of chicken is invisible from directly above. Fifteen seconds of unbroken overhead is informative. Ninety seconds of unbroken overhead is wallpaper.
The fix is not a second camera, though a second camera is nice. It is deciding which three or four moments in your recipe deserve a low angle, then shooting those moments twice: once overhead for the record, once from the side or at about a 30 degree tilt for the appetite. Sear, pour, cheese pull, cut through, plate. Those are the low-angle moments in almost every recipe.
In the edit, treat the overhead as the spine and the low angles as punctuation. Cut to the side angle a beat before the interesting thing happens, not after, so the viewer is already in the better seat when the sauce hits the pan. Then go straight back overhead for the next instruction. If you find yourself holding a low angle for six seconds while nothing changes, you cut too early.
- Shoot the whole recipe overhead, unbroken, as your safety pass.
- Reshoot four moments only: the sear, the pour, the mix or fold, and the cut through the finished dish.
- In the edit, sit on overhead for instruction and cut to the low angle only for the reaction moment.
- Cut back to overhead the instant the moment resolves.
02 / FIELD NOTESThe viewer has to read the ingredient before your hand covers it
Here is a mistake that shows up in nearly every amateur recipe video. The hand enters frame holding a bowl, the contents go into the pan, and the shot cuts. The viewer just watched something beige disappear into something brown and has no idea what it was or how much.
The order matters more than people think. The ingredient has to be identifiable on screen before it moves. That means either the bowl sits still in frame for a beat before the hand touches it, or the name and quantity appear on screen as it goes in, or both. Roughly half a second of stillness is enough. A full second feels generous. Cutting on the same frame the hand enters is what makes a video unfollowable.
Quantities are the other half. A viewer who cannot see how much salt went in will not cook your recipe, and if they do they will blame you for the result. You do not need to narrate it. You need it written down while the action happens. Two teaspoons of smoked paprika, on screen, for two seconds, is worth more than a voiceover saying the same thing, because the voiceover is muted for most of your audience anyway.
There is a rhythm to this that is worth internalising. Show the thing. Name the thing. Do the thing. If your edit ever does those in a different order, the viewer is playing catch-up, and catching up is when people scroll.
Naming the thing means text, not narration. Most feeds autoplay muted, so a voiceover-only recipe is a recipe most viewers never receive. Every quantity, every temperature, every time and every ingredient name should exist as text on screen at the moment it is relevant. Not in a block at the start, which nobody pauses for, and not in the post caption, which is a different surface.
Two kinds of text live in a recipe video and they should not look the same. Ingredient cards are static information: name, amount, maybe a small icon, sitting for two to three seconds in a consistent position. Spoken captions are the other kind: if you narrated, run word-level captions so individual words highlight as they are said, which is what keeps a muted viewer reading rather than skimming.
Ingredient cards are exactly what addHtmlElement is for. It takes self-contained HTML and CSS and puts it on the timeline as a clip, so you get a card with a soft gradient, a rounded corner, your own font stack and a quantity in tabular figures, rather than whatever the built-in text tool decided a title should look like. Build one, then reuse it for every ingredient with the words swapped. Consistency across the twelve cards in a recipe reads as design. Twelve slightly different cards reads as a first draft. Keep them out of the bottom sixth of the frame, where platform UI and usernames land.
03 / FIELD NOTESSpeed is the entire grammar of a recipe video
Cooking has an unfortunate structure for video: most of it is repetitive, and the good parts are short. Dicing an onion is ninety seconds of the same motion. The moment garlic hits hot oil is one second and it is the best second in the video.
So speed is not an effect here, it is how you tell the viewer what matters. Chopping, stirring, kneading, waiting, anything cyclical: run it fast, somewhere between 4x and 10x depending on how long the real action was. The viewer understands compressed motion instantly, they have seen a thousand of these. Anything with a sound or a transformation: real speed, every time. The sizzle, the pour, the fold where the batter changes texture, the knife through the finished thing.
The join between those two speeds is where most edits get ugly. A hard jump from 8x to 1x reads as a mistake. A ramp reads as intention. Come off the fast section over roughly a third of a second, land at normal speed a beat before the interesting frame, and hold. Coming out is the same in reverse: let the moment finish, then accelerate away over another third of a second. In Vidmoat, setSpeed handles both the flat multipliers and the ramps, and source time is the integral of the speed curve, which is the boring way of saying the ramp actually retimes the footage instead of just stretching a clip and hoping.
One more rule that is easy to miss. Never speed up the moment you are asking somebody to copy. If the technique is the point, and folding egg whites is the point, that section runs at 1x no matter how long it takes. Speeding up an instruction turns it into decoration.
- Mark every section that is repetitive motion with no sound worth hearing.
- Run those at 4x to 10x until each one lasts about one to three seconds.
- Ramp down over about 0.3 seconds into every moment with a sound or a transformation.
- Leave every technique the viewer is meant to copy at 1x, even if it costs you ten seconds.
04 / FIELD NOTESThe sizzle is the music
Food audio is the most underused asset in home cooking video. Somewhere on your camera there is a recording of onions hitting hot butter, and it is more persuasive than any track you could put underneath it. Amateur edits bury it at 20% under a lo-fi loop. Good edits push it to the front and let the music get out of the way.
Build the audio in layers rather than as one bed. The kitchen sounds are the top layer: the sizzle, the knife on the board, the whisk, the crunch of the first cut through. Those play at full volume, sometimes louder than feels natural. Music sits underneath as a floor, and its job is to stop the silent stretches feeling dead, not to carry the video.
If you narrate, the music has to dip. A flat music bed under a voice is the single fastest way to sound like a video that nobody edited. autoDuck rewrites the music clip volume keyframes wherever a voice is playing, with ramps rather than steps, so the track breathes back up between sentences instead of sitting at a constant low level for the whole video.
One thing worth being honest about: cleaning up bad kitchen audio is limited. An extractor fan roaring through your whole recording is a high-pass filter away from being slightly less roaring, not away from being clean. If your kitchen is loud, the fix is at the recording stage. Turn the fan off for the sizzle takes and put it back on between them.
05 / FIELD NOTESKitchens are grey and food is not
Domestic kitchen lighting is the enemy of food on camera. Overhead LED panels are usually cool and slightly green, tungsten downlights push everything orange, and the worst case is both at once from different directions. The result is chicken that looks grey, herbs that look dusty and sauces that lose their depth.
Fix the white balance before you fix anything else. If a white plate in your shot is not white, nothing you do to saturation afterwards is going to look right, it will just be a more colourful version of wrong. Get the plate neutral, then look at the food again. Half the time it needs almost nothing after that.
When it does need something, food responds well to a small lift in warmth, a modest contrast increase to bring back texture and shadow in a crust or a crumb, and restrained saturation. Restrained is the operative word. Vidmoat setColor runs on a 0 to 200 scale where 100 is neutral, not on plus or minus deltas, so a saturation value of 18 is not a subtle nudge, it is nearly monochrome. Move in small steps from 100 and check the frame.
The efficient way to grade a recipe video is one adjustment layer over the whole stack rather than a grade per clip. addAdjustmentLayer applies one look to everything below it, which matters here because a cooking video is twenty short clips of the same kitchen and they must match. Grade them individually and the cut from the overhead to the low angle will flicker in colour every time.
06 / FIELD NOTESYou filmed overhead in landscape and the feed wants vertical
This is the most common structural problem in home cooking video and it is worth understanding rather than just solving. An overhead landscape frame is wide because the board and the pan sit side by side. A vertical crop keeps roughly the middle third. Very often the ingredient is in the part you just threw away.
The honest answer at the filming stage is to compose for the crop: keep the action in the centre third of the overhead frame, and use the outer thirds for things you are happy to lose, like a tea towel or the edge of the board. If you do that, vertical becomes a crop rather than a rescue.
When you did not do that, and you usually did not, auto-reframe is the tool. applyAutoReframe writes per-clip keyframes so the crop follows the subject rather than sitting in a fixed centre position, which is what you want in cooking, because the action moves between the board and the pan constantly. A static centre crop misses the pan. A crop that tracks the hands does not.
Check it, though. Auto-reframe follows a subject, and in a busy kitchen frame it can lock onto the wrong thing, usually your face when you lean into shot. Look at frames at the moments that matter: every ingredient card, every pour, and the final plated shot. Those are the four or five frames worth verifying by eye.
07 / FIELD NOTESThe plated shot deserves more time than you want to give it
Every recipe video should end on the finished dish, and almost every amateur one gives it about a second before cutting to an end card. That is backwards. The plated shot is the whole promise of the video. It is the frame that gets screenshotted, it is the thumbnail, and it is the reason somebody saves the post.
Give it four to six seconds and give it something to do. A slow push in, a slow rotate, a hand entering to pull a piece away, steam still moving. Static for six seconds is dead air, but almost any small motion turns the same six seconds into a hold the viewer sits through willingly.
The cut through is the strongest version of this if your dish has one. A knife through a bake, a fork through a yolk, a spoon through a set custard. Real speed, real sound, and it goes at the end where it functions as a payoff, not in the middle where it is just another step.
Then stop. Do not add four seconds of subscribe animation over the best frame in your video. If you want an end card, let the food play first, and put the card after the food has had its time, or put it in the corner where it does not sit on the plate.
Common questions
How long should a recipe video be?
It depends on where it is going, but the useful frame is not length, it is how many instructions the video carries. A vertical clip that teaches one technique or one simple dish works between 25 and 45 seconds. A full recipe with eight or more steps needs two to four minutes and should be posted where people expect that, because compressing eight steps into 30 seconds means each one gets under four seconds and none of them are followable. If a recipe will not fit, cut a technique clip for the feed and keep the full version long.
Do I need a second camera for the low angles?
No. Shoot the recipe through overhead first as a complete safety pass, then repeat only the four or five moments worth a second angle. Cooking is forgiving here in a way that most subjects are not, because you can pour the same sauce twice or re-sear a second piece of chicken. What you cannot do is re-shoot a rise or a bake, so plan those in advance.
Should I use voiceover or on-screen text?
Both, with the text carrying the instructions. Most feeds autoplay muted, so anything that only exists in the audio is lost for a large share of viewers. Put every quantity, temperature and time on screen. Use the voiceover for the things text is bad at: why you are doing something, what to look for, what it should smell like.
What speed should I run the chopping at?
Pick the speed by the resulting duration, not by the multiplier. A repetitive section wants to end up between one and three seconds on screen, so a 90 second chop is around 8x and a 20 second stir is around 4x. Anything longer than three seconds of sped-up motion starts to feel like filler even at high speed.
Why does my food look grey and how do I fix it?
Almost always white balance rather than saturation. Kitchen LEDs run cool and often slightly green, and food loses its warmth under them. Neutralise a white surface in the frame first, then add warmth and contrast in small amounts. Reaching for saturation before fixing white balance just gives you a more saturated version of the wrong colour.
Can I edit a cooking video from my phone?
You can drive the whole edit from a phone through the Telegram bot at @vidmoat_bot or through WhatsApp, which is the same product, the same timeline and the same credits as the web editor. There are also Vidmoat apps for iPhone on the App Store and for Android on Google Play, linked from vidmoat.com/download. A desktop app for Windows and Apple Silicon is in beta if you would rather work locally.